Sewn: IKEA Tolkning Basket Lining Hack
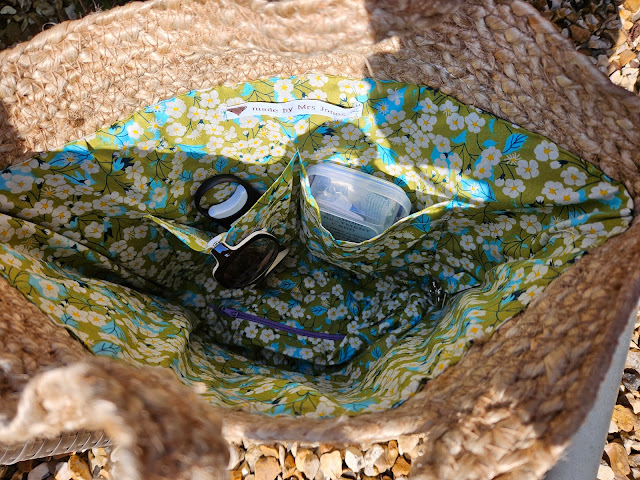
Along with the obligatory meatballs, Daim and plastic storage bags, I picked up a handy little jute basket from IKEA this week. It is the Tolkning and I thought it was a really useful size for summer. However, it literally is just a basket and is designed for you to use out and about and also store things in. Which is all good, except I don't like a bag without pockets. To me, a basket is especially wide open for pickpockets.
This was crying out for a lining using up some scraps, and these from my Make my Lemonade Frankie dress were perfectly summery.
What I added:
- A funky lining
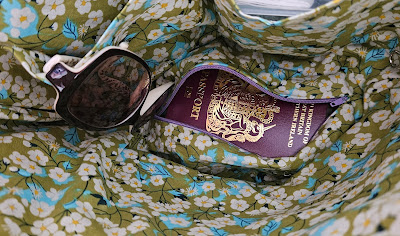
- A zipped pocket in the base to put my passport or purse
- A couple of pockets for my phone and injection that I need to carry everywhere
- A key clip
How I added the lining
First I traced the bottom of the bag onto some paper to form a rough oval. I made mine 24 cm long by 20 cm wide. I also traced the collapsed side profile - the bag shape, allowing for about 20cm of height so that it didn't extend over the handles. The accurate measurements are on the IKEA link at the top of the post.
Cut:
One full oval
Two just over half ovals - these form the base zipped pocket. You just need to allow for a seam allowance at each side of the central zip
Two side profiles
One rectangle for a pocket
One small thin rectangle (or you can use webbing, binding or ribbon) to attach the key clip
Sewing instructions
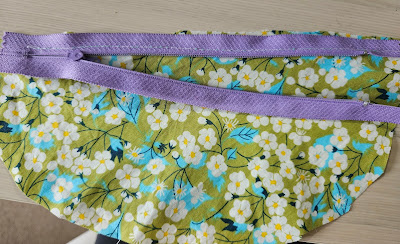
1. Place one half of the open zip upside down on the right side of the straight edge of one of the half ovals. Pin then sew in place.
2. Do the same for the second half of the zip on the other half.
3. Fold the two half ovals right side together and sew close to the zip at each end so the fabric is one oval with no gaps at the ends. Press with an iron.
4. Place the zipped oval on top of the full oval so that the wrong side of the zipped oval is next to the right side of the full oval. You want to see the right side of the oval underneath when you zip it. Pin in place, then sew.
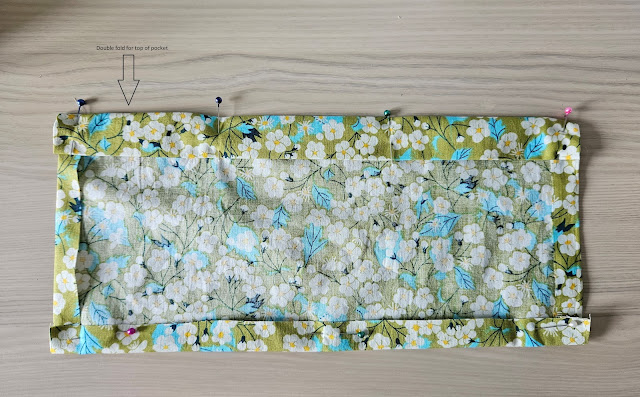
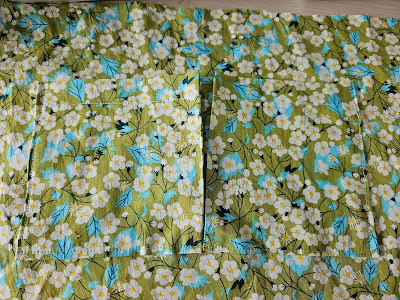
5. Next work out how many side pockets you want. I used my phone and my meds box to measure. This will determine how large your rectangle needs to be. Mine was 25 cm by 15 cm before turning in the edges.
6. Turn over 1 cm on the base and sides of the rectangle and iron. Pin to hold in place.
7. Turn over a more generous hem at the top of the pocket (turn it twice to keep it neat). Iron and pin.
8. Sew along the base of the hem.
9. Pin your pocket to one of the side profile panels (wrong side of pocket to right side of panel). Sew at the edge at the sides and bottom of the pocket, ensuring that you backstitch at where the side meets the top to strengthen.
10. If you want to divide your pocket, just sew a straight vertical line in your pocket.
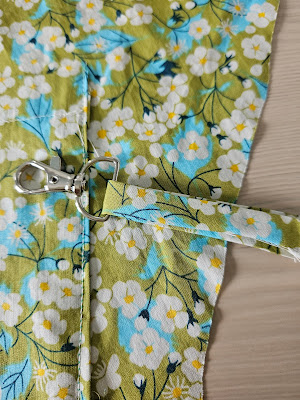
11. Right sides together, sew vertically down the edge of the small rectangle. Turn right side out and iron.
12. Thread though a key clip.
13. Place your two side panels right sides together, with the key clip attachment ends poking out. You want to be sewing it in place as you sew down the side seams. Pin. Sew side seams.
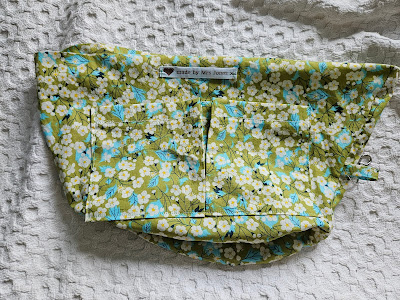
14. Carefully pin the oval to the base of the two side panels (right sides together). This is quite fiddly. Don't worry too much if they don't match perfectly - you really aren't going to see this in the finished product. Sew together.
15. At this stage iron all the seams and fabric. Turn over the top raw edge of the fabric and iron to the back of the fabric.
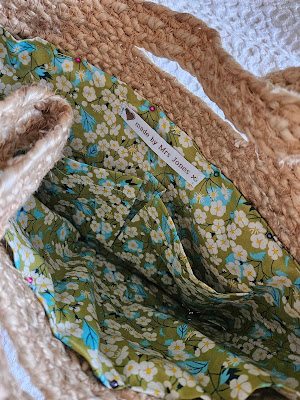
16. Place the lining into your basket and pin in place. Hand stitch the lining to the basket along the top of the lining. I used a thread which matched the colour of the basket and just sewed using a small running stitch.
17. You may also want to add additional stitches to anchor certain points together e.g. the key clip, the pocket and a couple of points at the bottom seam.
Disclaimer: This is a guide only: do measure your own basket as I imagine that they will vary in size. Also, this is the first time I have done this and just wanted to share what worked for me!
This is not an ad - this was a purchase of my own, and I have no affiliation with IKEA!
Love Mrs Jones x





Comments
Post a Comment
I love to hear your views on my blog, so please do stop by and comment!